Run the Project
Flutter provider quite an extensive guide on installation for different platforms: Flutter Installation Guide. Choose your development environment and target device to get started.
Here is a quick overview of the steps to run the project:
- Make sure you are working with a system with a minimum of 8GB RAM, 4 core CPU, and enough free disk space. This is to ensure enough resources and speed when running the project locally.
- You need to install Git for cloning the project and running some flutter commands. Here is the guide in case you need it: Install Git
- Android Studio for Windows and XCode for Mac is necessary to debug and compile code. CocoaPods are additionally required for iOS.
- Download Flutter SDK and add it to the PATH. For Mac, CocoaPods is also required in the PATH.
- Download the device emulators for Android/iOS to run the code locally.
- Download your favorite IDE: VSCode or Cursor or Android Studio. I encourage you to try Cursor IDE.
Verify Installation
Whether you followed Windows/Mac setup, run flutter doctor to verify that flutter is set up correctly. Don’t worry - everything may not be checked for you. It depends on the development environment you have chosen.

Start with Flutter Dev Kit
-
Go to the directory where you want to place your project.
Terminal window git clone https://github.com/mahima-manik/flutter-starter-kit.gitcd flutter-starter-kit -
To download all project dependencies listed in
pubspec.yaml, run this:Terminal window flutter pub getNotice it will generate
build/folder in the project root directory -
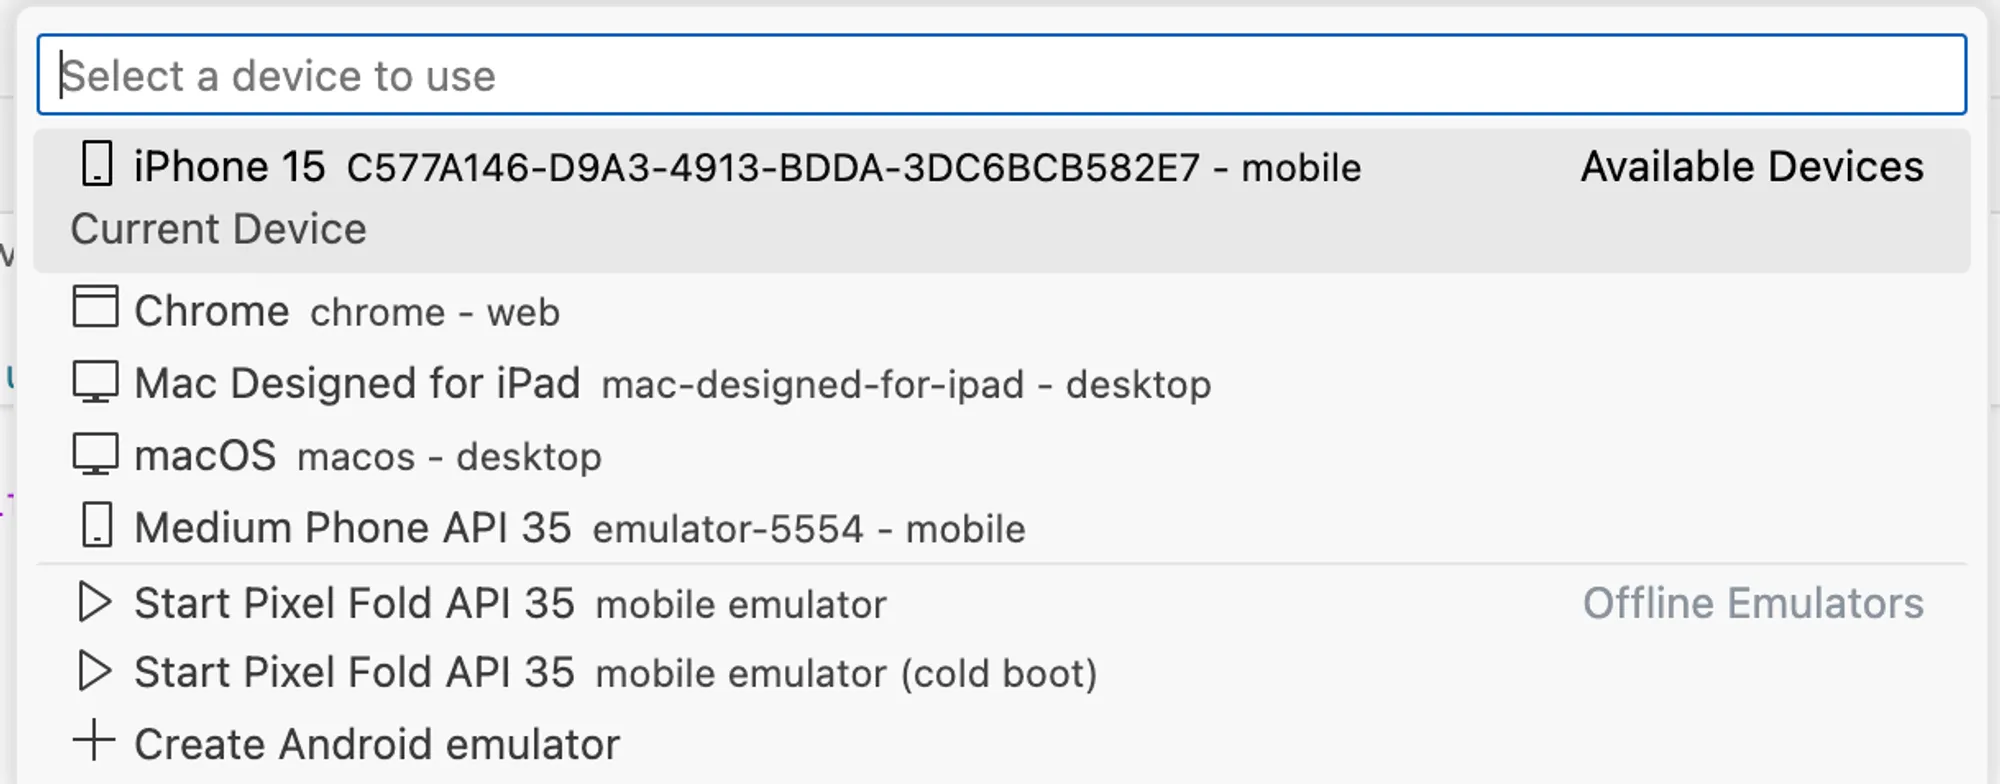
Select a device from the bottom-right corner of your VSCode editor.
-
Add environment variables in
assets/.envfile.STRIPE_SECRET_KEY=sk_test_complete_itSTRIPE_PUBLISHABLE_KEY=pk_test_complete_itMERCHANT_NAME="Your Merchant Name"RESEND_API_KEY=re_your_resend_api_keySENDER_EMAIL_ADDRESS=your_email@email.comIf you skip this step, you will see an error like this:
Launching lib/main.dart on Chrome in debug mode...Error detected in pubspec.yaml:No file or variants found for asset: assets/.env.Failed to compile application.Exited (1). -
Go to
lib/main.dart, you will see a debug and run button on the top-right corner of the IDE. It performs the build, installs, and runs the application on the selected device.
Run button on top-right
Or you can run using the command:
Terminal window flutter runNote: This may take few minutes to build and run for the first time.


Congratulations! 🥳 You have successfully run the project!
Additional Step (Android)
If you try to login with Google provider on Android device, you will see an error. This is because Google sign-in require you to provide the SHA-1 of your signing certificate so we can create an OAuth2 client and API key for your app.
To create a SHA-1 key, you can use the following command:
# Mac/Linuxkeytool -list -v \-alias androiddebugkey -keystore ~/.android/debug.keystore
# Windowskeytool -list -v \-alias androiddebugkey -keystore %USERPROFILE%\.android\debug.keystore
You will see Certificate fingerprints, select the one that starts with SHA1:. Copy the SHA-1 key. Go to your Firebase console -> Project Settings -> Your apps -> Android -> SHA certificate fingerprints -> Add fingerprint -> Paste the SHA-1 key -> Add.

More information on this: Google Developers - Client Authentication
The project is linked to my Firebase, Stripe and resend account. Now we will make changes step-by-step to integrate with your own accounts.